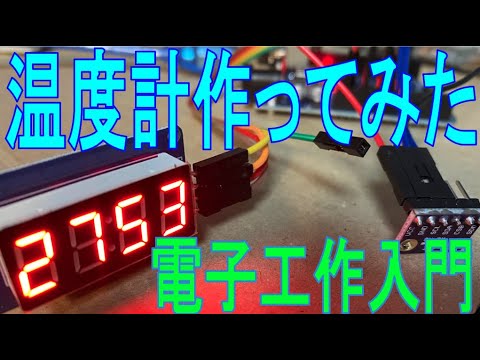
概要
手元に温度センサーとLEDがあったので…
温度計を作ってみた。
部品

表示機:TM1637が組み込まれた7セグLED
Amazon
73円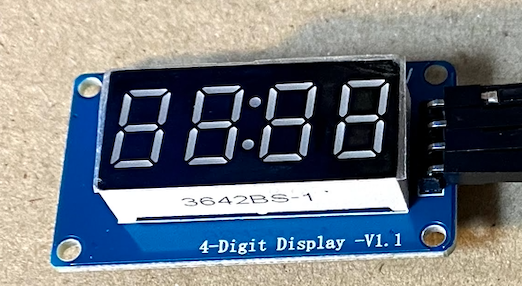
コンピュータ:Arduino UNO互換機
699円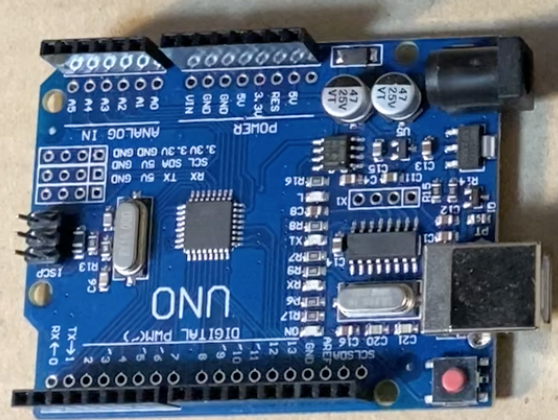
配線
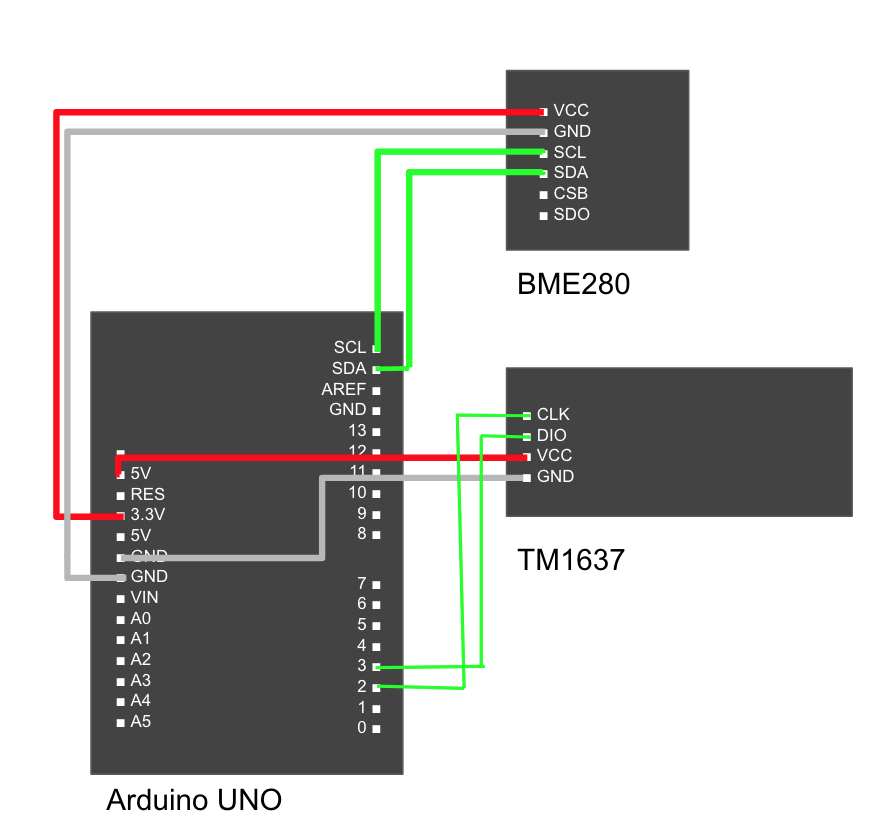
今回利用する温度センサはI2Cという通信を利用します。
近距離で利用するシリアル通信規格で、Arduino工作だとよく利用されるものです…
(多分通常の開発でも利用されるかと思いますが…)
ジャンパケーブル
¥762
ソースコード
1 |
|
動作確認
gif動画で上げても分かりにくかったので、Youtubeにて確認いただけると幸いです。